Avoiding ECU Damage During Key Programming
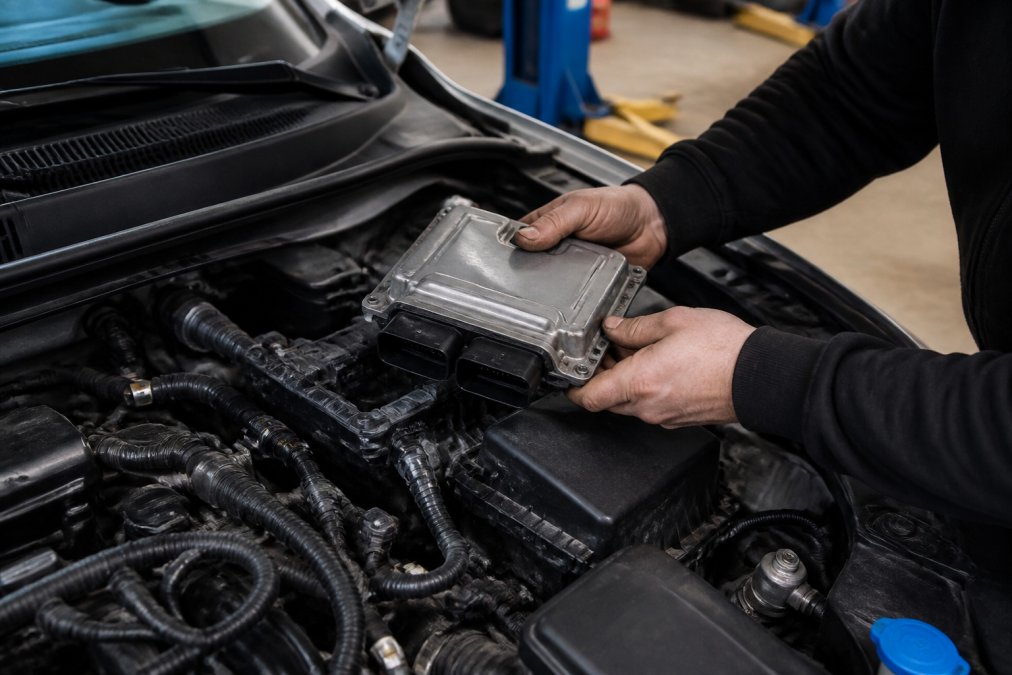
Avoiding ECU damage: Protect your vehicle's computer during key programming. Learn voltage stabilization, safety protocols, and recovery steps to prevent.
Table of Contents
- Why Avoiding ECU Damage During Key Programming Matters
- Understanding OBD Port Voltage Requirements
- Creating and Protecting Your Original ECU Backup
- OEM vs Aftermarket Key Fobs: Security and Compatibility
- Step-by-Step Programming Safety Protocols
- Recognizing ECU Bricking Symptoms and Emergency Recovery
- Post-Programming Validation and Troubleshooting
- Conclusion
Last Updated: August 27, 2026
Why Avoiding ECU Damage During Key Programming Matters
Mishandling your vehicle's electronic control unit during key programming can render your car undrivable. The ECU manages engine timing, fuel injection, and emissions, essentially every critical function that keeps your vehicle running. When voltage spikes, improper firmware writes, or security lockouts occur, you're looking at a bricked system requiring expensive dealer intervention or complete module replacement.
Avoiding ECU damage during key programming requires understanding the specific vulnerabilities of your vehicle's electrical architecture. This guide covers the technical safeguards that professional locksmiths use to protect your system, from voltage stabilization to post-programming validation.
Understanding OBD Port Voltage Requirements
The OBD port is your diagnostic gateway, but it's also where most voltage-related damage begins. Your vehicle's OBD port supplies 12 volts direct from the battery with minimal filtering. Diagnostic tools draw variable current during operation, and if your vehicle battery is weak (below 12.5 volts) or your alternator isn't maintaining charge properly, voltage can dip below the minimum threshold required for stable communication. The ECU interprets voltage fluctuations as signal degradation, triggering protective shutdown routines.
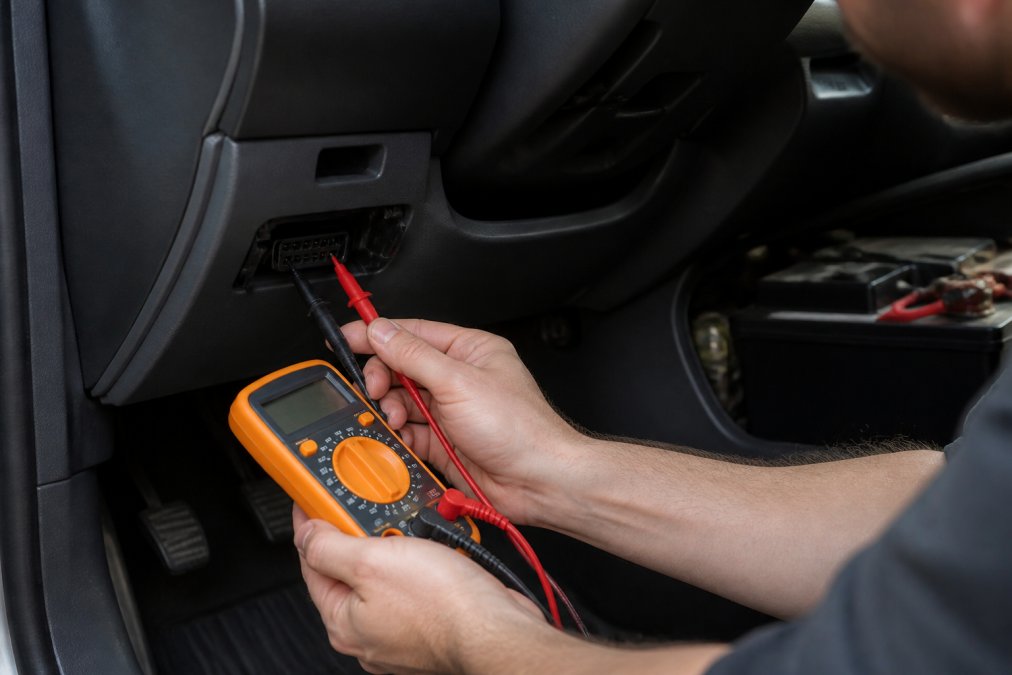
Professional technicians check OBD port voltage before connecting any diagnostic interface. Using a multimeter set to DC voltage mode, probe across OBD connector pins 4 (ground) and 16 (12V power). You should see 12.0 to 12.8 volts with the engine off, and 13.5 to 14.5 volts with the engine running (sae.org). Anything below 12.0 volts indicates a battery or charging system problem that must be corrected before programming begins.
The second voltage concern is transient spikes. When you disconnect a charging device or diagnostic tool from the OBD port, the sudden break in current can create a voltage spike exceeding 18 volts, well above the ECU's tolerance (peer-reviewed research). Professional programming rigs include surge protection or voltage regulators on the OBD connection to prevent this.
Creating and Protecting Your Original ECU Backup
Before any key programming session, your ECU's current firmware state must be preserved. A complete ECU backup captures the entire non-volatile memory, immobilizer codes, security access codes, VIN matching data, and factory calibration settings (ieee.org). If programming fails, this backup becomes your recovery path.
Creating an ECU backup requires a diagnostic interface capable of reading the full module memory. Basic code readers and many aftermarket key programming devices only access specific data regions, which is insufficient for recovery.
The backup process itself carries risk. A failed read operation can leave the ECU in an inconsistent state. To prevent this, the diagnostic interface must support checksum verification. After the backup file is written, the tool recalculates the checksum of the transferred data and compares it to the source. If checksums don't match, the transfer is rejected and retried.
Store your backup file in multiple locations using cloud storage with version control, not just a single USB drive. Label the backup with the vehicle's VIN, year, make, model, and the exact date and time of creation. Before you begin programming, verify your backup is readable by confirming the file size matches what the tool reports as the full module memory capacity.
OEM vs Aftermarket Key Fobs: Security and Compatibility
The choice between OEM and aftermarket key fobs directly affects programming complexity and risk. OEM fobs are programmed by the manufacturer to match your specific vehicle's security architecture. Aftermarket fobs attempt to replicate this behavior but often use different firmware, encryption standards, or synchronization protocols.
OEM key fobs use proprietary rolling code algorithms specific to your vehicle manufacturer. When you program an OEM fob, you're adding a new authorized code to the ECU's whitelist. The process is standardized and low-risk because both the fob and the ECU speak the same language.
Aftermarket fobs often use generic rolling code algorithms designed to be compatible across multiple manufacturers. Your ECU doesn't recognize these generic codes as valid. Programming an aftermarket fob requires modifying the security access code or the immobilizer reset procedure itself, increasing the risk of data corruption or security lockout.
A security lockout occurs when the ECU detects an invalid programming attempt. After a certain number of failed security handshakes, the module enters a protected state where it refuses all further programming commands. Recovery requires either a factory reset (which erases all custom key codes) or dealer intervention with specialized equipment.
For avoiding ECU damage during key programming, the safest approach is OEM fobs paired with manufacturer-specific programming procedures. If you choose aftermarket, verify compatibility documentation from both the fob manufacturer and your vehicle manufacturer before programming begins.
Step-by-Step Programming Safety Protocols
The actual programming sequence must follow a specific order to protect your ECU.
Step 1: Verify Battery and Charging System (5 minutes) Connect a multimeter to the battery terminals and confirm voltage is 12.0 to 12.8 volts with the engine off. Start the engine and verify charging voltage reaches 13.5 to 14.5 volts. If either reading is out of range, diagnose and repair the battery or alternator before proceeding.
Step 2: Connect Voltage Stabilizer Equipment (2 minutes) If your diagnostic interface draws significant current, connect a voltage stabilizer or inline power supply to the OBD port before connecting the diagnostic tool itself. This device regulates power delivery and prevents voltage transients from reaching the ECU.
Step 3: Connect Diagnostic Interface to OBD Port (1 minute) Insert the diagnostic interface connector into the OBD port slowly and fully. Verify the connection is secure. Wait 5 seconds before proceeding to allow the interface to initialize communication with the ECU.
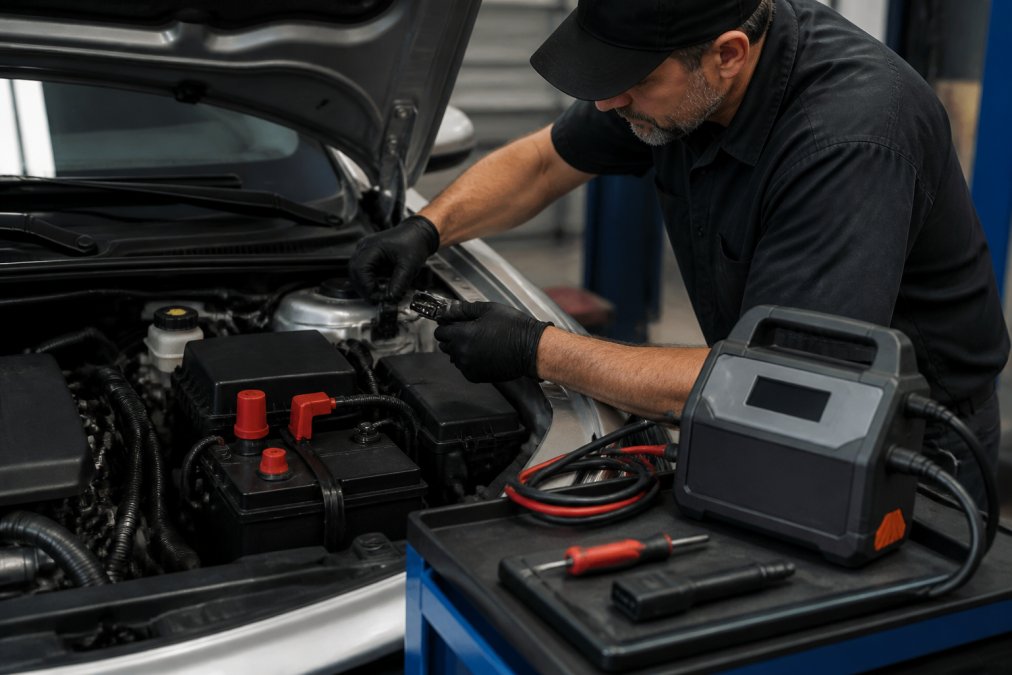
Step 4: Establish Module Communication (2 minutes) Launch your diagnostic software and attempt to communicate with the ECU. The software should detect the module and display its current status. If communication fails, do not attempt to retry. Disconnect the interface and troubleshoot the connection.
Step 5: Read Current ECU State (3 minutes) Before writing any new data, read the current ECU firmware and settings. This serves as a real-time backup and allows you to verify the module is in a known state. Document the VIN, immobilizer status, and current key code count.
Step 6: Perform Security Unlock (5 minutes) Depending on your vehicle, this might involve entering a security access code, performing a specific key sequence, or providing proof of ownership. Follow the exact procedure documented for your vehicle. Skipping or modifying this step will result in a security lockout.
Step 7: Write New Key Code Data (3 minutes) Once unlocked, write one key code at a time. After each write, the software should display a confirmation message. Do not proceed to the next key code until the previous write is confirmed.
Step 8: Verify Checksum and Write Completion (1 minute) After all key codes are written, the diagnostic software should calculate and verify the checksum of the modified data. If checksum verification fails, do not disconnect. Attempt to restore from your backup.
Step 9: Test Key Fob Function (2 minutes) Before disconnecting the diagnostic interface, test each newly programmed key fob. Lock and unlock the vehicle using the fob. Verify the immobilizer system responds correctly.
Step 10: Disconnect Diagnostic Interface (1 minute) Once all keys are verified, disconnect the diagnostic interface from the OBD port slowly and carefully. Wait 30 seconds before starting the vehicle.
Recognizing ECU Bricking Symptoms and Emergency Recovery
ECU bricking occurs when the module becomes unable to perform its primary functions. A fully bricked ECU prevents the vehicle from starting at all. The engine cranks but never fires. A partially bricked ECU allows the vehicle to start but triggers persistent fault codes and may enter limp mode. An immobilizer lockout prevents the vehicle from starting even though the engine control firmware is intact.
Voltage-related bricking has a specific signature: the vehicle starts and runs normally after programming, but within minutes or hours, it shuts down unexpectedly. This pattern suggests the ECU's voltage regulation detected an out-of-specification condition and triggered a protective shutdown.
Emergency recovery depends on the type of bricking. If you have a verified backup file, many diagnostic interfaces can restore the original firmware through a "flash restore." However, restoration only works if the ECU can still communicate with the diagnostic interface. If communication is completely lost, specialized equipment or dealer intervention is required.
For immobilizer lockouts, some vehicles support a factory reset procedure that clears all custom key codes and restores the system to its original state. If your ECU is bricked and you cannot communicate with it via the OBD port, JTAG or BDM programming may be necessary. These specialized interfaces connect directly to the ECU's microcontroller pins, but require removing the ECU from the vehicle.
Post-Programming Validation and Troubleshooting
After programming completes, validation confirms that the new keys work and the ECU hasn't developed hidden corruption. Test each newly programmed key fob at least three times. Lock the vehicle, wait 30 seconds, then unlock it. Verify that the doors lock and unlock reliably.
Next, perform a diagnostic scan for fault codes using the same diagnostic interface. A clean scan shows no pending or stored codes. If new codes appear after programming, they indicate a problem. Common post-programming codes include "Security Access Denied," "Key Code Not Recognized," or "Immobilizer Mismatch."
Check the module communication one more time and verify that the new key codes are actually stored in memory. Test the vehicle under different conditions. Drive it at highway speeds and verify that the engine runs smoothly. If the vehicle exhibits any unusual behavior, hesitation, rough idle, or stalling, these are signs of ECU corruption.
If problems emerge during validation, attempt to restore from your backup immediately. For communication errors, disconnect the diagnostic interface, wait 30 seconds, and reconnect. If the problem persists, check that the OBD port pins are clean and free of corrosion. If you encounter a security lockout after programming, stop immediately and contact a dealer or professional locksmith.
Avoiding ECU damage during key programming requires respecting the electrical and security architecture of your vehicle's control systems. The protocols covered here, voltage verification, backup creation, security handshake procedures, and post-programming validation, are the difference between a successful programming session and a catastrophic failure.
If you're uncertain about any step, professional assistance is the right choice. Lock it All Locksmithing provides expert car key replacement and advanced key fob programming. Contact us at 615-810-7304 to discuss your vehicle's key programming needs and get expert guidance tailored to your specific make and model.
Frequently Asked Questions
Q: What are the main symptoms that my ECU has been damaged or bricked during key programming?
A: ECU bricking symptoms include the vehicle failing to start, dashboard warning lights staying on continuously, the engine cranking but not turning over, loss of power steering or brake assist, and the immobilizer system refusing to recognize any key. Some vehicles show communication protocol errors on diagnostic scans. If your vehicle exhibits these signs immediately after key programming, stop using it and seek professional diagnosis right away to prevent further data corruption.
Q: Why is voltage stabilization so critical when avoiding ECU damage during key programming?
A: The ECU and immobilizer system operate on precise voltage levels, typically 12 to 14.4 volts. Voltage drops below 11 volts or spikes above 15 volts during programming can corrupt the flash memory where your vehicle's security access codes and firmware are stored. A voltage stabilizer maintains steady power throughout the write cycle, preventing checksum errors and non-volatile memory corruption. Even brief voltage fluctuations can cause irreversible damage, so stabilization equipment is essential for safe programming.
Q: Should I use OEM or aftermarket key fobs to reduce the risk of ECU damage?
A: OEM key fobs are programmed to match your vehicle's exact communication protocol and security handshake requirements, making them far safer for programming. Aftermarket fobs may use incompatible firmware or non-standard encryption, which can cause the ECU to reject the pairing and trigger security lockouts. Using OEM hardware eliminates a major source of programming errors. However, professional programming with proper OBD port diagnostics can work with quality aftermarket fobs if the technician verifies VIN matching and module communication first.
Q: What should I do if key programming fails and my vehicle won't start?
A: First, do not attempt repeated programming cycles, as each failure increases the risk of permanent data corruption. Disconnect the vehicle battery for 15 minutes to allow the ECU to reset, then reconnect and try once more. If the vehicle still does not start, you need professional emergency recovery. A qualified technician can restore factory settings using a backup file or perform a factory reset through the diagnostic interface. Attempting DIY recovery without proper tools and training can cause permanent ECU bricking, so contact a professional immediately.
This article was written using GrandRanker

Why Nashville drivers choose Lock it All Locksmithing
We are a locally owned, licensed and insured mobile locksmith serving Nashville and the surrounding Middle Tennessee communities. You speak directly with the technician who does the work, get an honest price before we dispatch, and we arrive in a fully stocked service vehicle so most jobs finish in a single visit — usually within 20 to 45 minutes of arriving. No towing, no dealership appointment, no surprise fees.
How the visit works
- Tell us the details: call, text or send the quote form with your vehicle's year, make and model, or a description of your lock problem.
- Get an exact price: we quote parts, cutting, programming and travel up front.
- We come to you: our mobile workshop meets you at home, work or roadside.
- Done on the spot: keys are cut, programmed and tested with you before we leave.
Areas we serve
Nashville, Murfreesboro, Franklin, Hendersonville, Smyrna, La Vergne, Antioch, Brentwood, Mount Juliet, Lebanon and the surrounding towns across Middle Tennessee.
What our customers say
- "Fast, professional and honest — had a new key for my truck programmed in under half an hour." — Adrian Fiorito, 5 stars.
- "Great service and fair pricing. Came out same day and solved the problem right away." — George Yacoub, 5 stars.
- "Very knowledgeable and friendly. Highly recommend for anyone needing a locksmith in Nashville." — Jan Daoud, 5 stars.
Rated 5 stars across 100+ verified Google reviews. Call or text 615-810-7304 or email info@lia-locksmith.com.